Replacing windows and exterior doors is more than a cosmetic upgrade; it’s a strategic investment in comfort, energy efficiency, and home value. A well-planned replacement project can reduce drafts, lower utility bills, and enhance curb appeal for years to come.
To navigate this decision confidently, explore resources on window and door replacement that align with your climate, budget, and design goals.
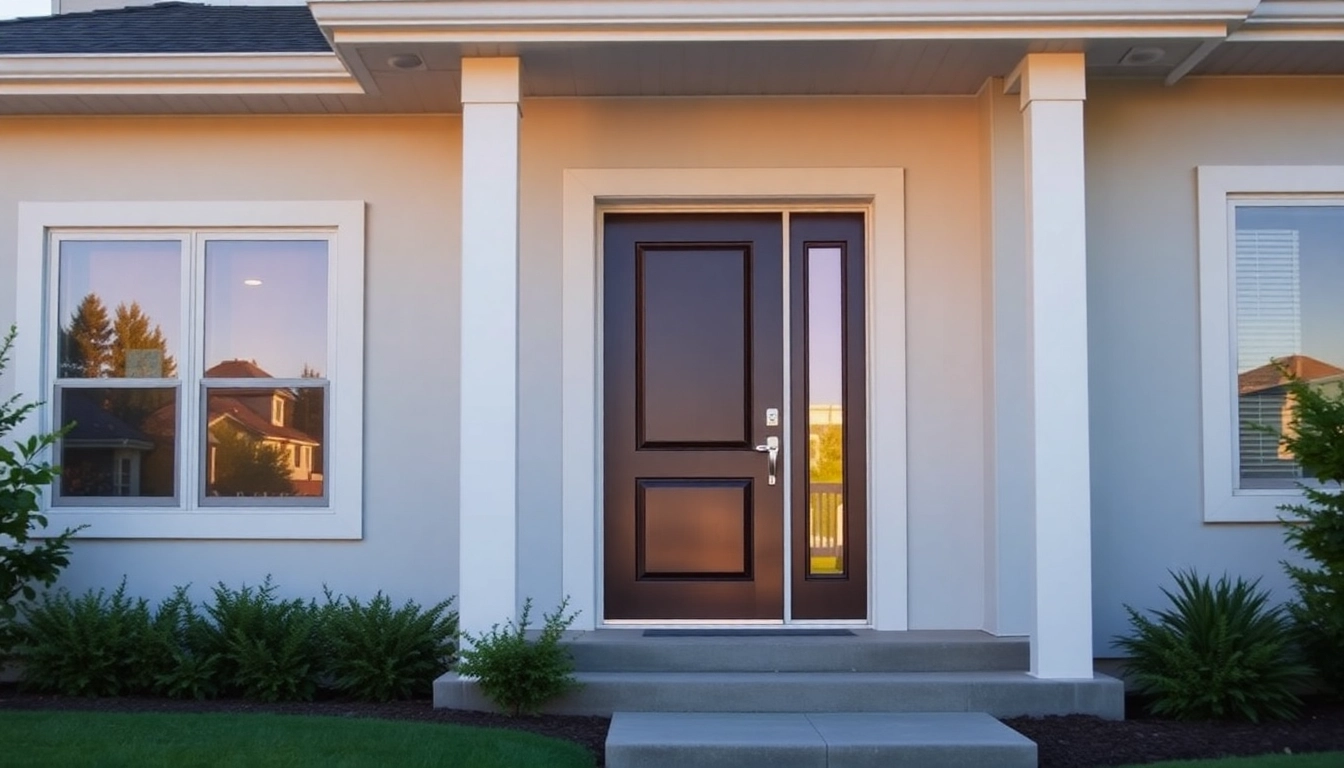
Window and Door Replacement: Basics for Homeowners
What is window and door replacement and when to consider it
Window and door replacement involves swapping aging, inefficient, or damaged components with modern units that offer improved insulation, performance, and aesthetics. It’s not limited to a single room—homeowners consider replacement for issues such as persistent drafts, condensation between panes, foggy or warped sashes, moisture intrusion, excessive glare, or failing hardware. Replacement becomes particularly beneficial when windows and doors are past their expected lifespan, typically 15–25 years for most mid-range products, or when existing units hinder daily comfort and natural light.
Key benefits for comfort, energy, and resale
Replacing openings delivers a ripple effect of advantages. Comfort rises as tighter seals minimize drafts and cold spots. Energy bills often drop due to higher R-values and better thermal breaks. Noise reduction, improved security, and easier operation accompany modern hardware. From a resale perspective, upgraded windows and doors can boost curb appeal and appraised value, especially when paired with consistent exterior styling and improved sash performance. Real-world results include steadier indoor temperatures, fewer condensation issues, and a shorter, less invasive installation process when scheduled with reputable installers.
Common challenges and myths
Myths persist around cost, disruption, and quality. Replacement is not always an all-or-nothing overhaul; selective upgrading or staged projects can manage budgets and downtime. Some assume vinyl is inherently low quality; in truth, today’s vinyl, fiberglass, and wood-composite options offer durable performance and design flexibility. Perceived incompatibility with older homes can be mitigated with retrofit options and precise measuring. The most effective path pairs thorough measurements with a trusted installer who can ensure proper flashing, air sealing, and warranty coverage.
Materials, Styles, and Energy Performance
Choosing materials: vinyl, wood, fiberglass
Material selection shapes price, longevity, and appearance. Vinyl is cost-effective, low maintenance, and highly weather-resistant for many climates. Wood provides classic aesthetics and superior insulating potential when properly sealed and finished but requires ongoing maintenance. Fiberglass combines durability with stability, often resisting warping and expanding in extreme temperatures. A balanced approach considers local climate, budget, and the home’s architectural language to choose a material that delivers consistent performance over decades.
Styles and configurations that fit curb appeal
Common residential styles include double-hung and casement windows for traditional homes, picture or sliding windows for contemporary looks, and sliders or French doors to enhance access and daylight. Exterior doors range from solid panels for security to decorative glass inserts for personality. When selecting configurations, aim for a cohesive rhythm across elevations, aligning window sizes with door widths, aligning shutters or trim, and ensuring sightlines remain visually balanced from curb to interior rooms. Thoughtful configuration reduces interior shadows and improves natural light distribution.
Energy ratings and certifications (ENERGY STAR, NFRC)
Energy performance is best understood through standardized ratings. NFRC labels provide u-factor, solar heat gain coefficient (SHGC), and visible transmittance (VT), offering apples-to-apples comparisons across brands. ENERGY STAR products meet or exceed regional efficiency criteria, ensuring minimum performance thresholds. When shopping, prioritize windows and doors with favorable NFRC values for climate zone compatibility, meaning lower u-factors in cold regions and appropriate SHGC for sun exposure. A well-chosen package can deliver measurable comfort gains and a consistent return on investment through reduced heating and cooling loads.
Window Replacement Costs, Scheduling, and ROI
Estimating window replacement costs (materials, labor, permits)
Cost ranges vary by material, scope, and labor markets. Materials typically represent a significant portion of the budget, with labor and any required permits contributing as well. Expect higher upfront costs for wood or fiberglass units, while vinyl often remains more economical. While replacement projects can be staged, many homeowners find that consolidating the work with a single installation minimizes disruption and leads to better alignment of warranty terms and long-term performance. A transparent estimate should itemize units, hardware upgrades, flashing, insulation, and disposal costs to avoid surprises.
Timing and seasonality impacts
Seasonality influences scheduling and pricing, with milder shoulder seasons (spring and fall) frequently offering shorter lead times and favorable installation conditions. Extreme weather windows can affect interior comfort during replacement, so planning around climate patterns helps maintain energy efficiency during the project. Early coordination with an installer reduces the risk of supply delays and ensures product customization aligns with deadlines for siding or interior finishes.
ROI: long-term savings and warranty considerations
Return on investment hinges on energy savings, reduced maintenance, and enhanced resale value. While exact payback periods vary, high-performance installations typically yield noticeable reductions in utility bills and fewer service calls. Warranty coverage, including coverage for glass breakage, hardware, and installation workmanship, protects the long-term value of the investment. Ask installers to detail what is covered, for how long, and the process for claiming warranty service.
Installation Best Practices for Durable Results
Pre-installation checklists and site prep
Effective installations start with preparation: verify rough openings are square, clear obstructions, and protect interiors from dust. Pre-installation checks should include confirming correct glass type, sealant compatibility, and proper flashing details to prevent water intrusion. A well-prepared site reduces post-install surprises and ensures the finished product performs as designed from day one.
Professional installation vs DIY: pros and cons
Professional installation brings expertise in measurement accuracy, flashing, insulation, and warranty transfer. DIY projects can save labor costs but require meticulous attention to detail and specialized tools. For most homeowners, a certified installer minimizes risks of air leaks, improper shimming, and future warranty voids. If undertaking a DIY approach, build a clear plan, follow manufacturer guidelines, and be prepared to forecast additional costs for errors or rework.
Quality control and post-install inspections
Quality control should occur at multiple stages: after framing, after flashing, and upon final finish. Conduct a practical test by operating each unit smoothly, checking for drafts, and inspecting seals for gaps or trim misalignment. Document any deficiencies and confirm that installation aligns with warranty requirements and local building codes to avoid issues during future servicing or resale.
Planning, Measuring, and Maintenance for Longevity
Accurate measuring techniques and templating
Precise measurements ensure a proper fit and seal. Techniques include measuring at multiple points in width and height, noting any bow in the opening, and accounting for framing shifts. Templating should capture sill height, reveal lines, and the desired visible surface area. When dealing with unusual openings or historic homes, consult with installers about retrofit options and trim adjustments to preserve architectural integrity.
Maintenance tips after replacement
Maintenance extends the life of doors and windows. Regular lubrication of hinges and hardware, cleaning tracks, and checking weatherstripping for wear prevents air leaks. Inspect caulking and flashing annually for signs of cracking or moisture intrusion. Keep in mind that cleaning products should be compatible with the chosen material, and protective finishes for wood or wood-composite units should be refreshed as recommended by manufacturers.
Planning for future upgrades and home value
Think beyond today when planning replacements: match hardware finishes to door handles and lighting, consider smart-lock options, and plan for future expansions or siding updates. A cohesive, well-executed replacement project can maintain or increase home value, attract energy-conscious buyers, and reduce ongoing maintenance concerns as your house ages gracefully.